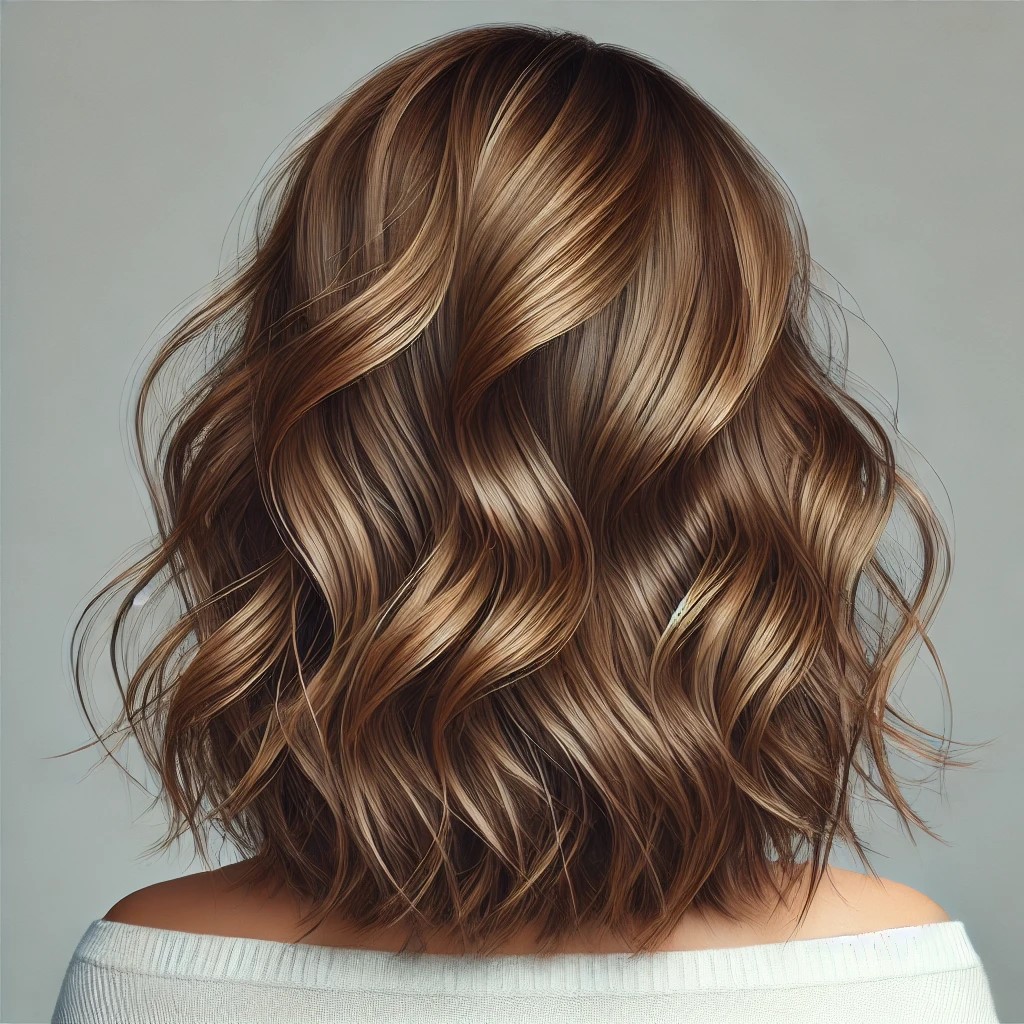
Short hair can be fun, chic, and low maintenance, but sometimes you may crave a little extra length or volume to switch up your look. That’s where hair extensions come in! Whether you want to add length for a special occasion or create more fullness, hair extensions are a great solution—even for short hair. However, the process requires a bit more finesse to make sure the Hair Extensions blend seamlessly. Here’s how you can put extensions in short hair and achieve a flawless, natural look.

What You’ll Need:
- Hair Extensions: Choose extensions that match your hair color and texture. Clip-ins, tape-ins, or micro-link extensions are great options for short hair.
- Rat-tail Comb: For sectioning your hair neatly.
- Hair Clips: To secure sections of your hair while you work.
- Flat Iron or Curling Iron: To blend your natural hair with the extensions.
- Texturizing Spray or Volumizing Powder: To help create fullness and grip for the extensions.
Step 1: Choose the Right Extensions
Not all hair extensions are suitable for short hair, so it’s important to choose the right type for the best results. For short hair, you’ll want to use:
- Clip-In Extensions: These are easy to apply and remove, making them a great option for beginners. Choose shorter clip-ins to blend better with your natural hair.
- Tape-In Extensions: These provide a more permanent solution and can be hidden easily, even in short hair.
- Micro-Link Extensions: These extensions attach with tiny beads and are ideal for blending with short hair because they add fullness without being too bulky.
Step 2: Prep Your Hair
Before applying extensions, you’ll want to make sure your hair is clean, dry, and styled in a way that makes blending easier.
- Add texture: Short hair can be a bit slippery, so use a texturizing spray or volumizing powder to give it some grip. This will help the extensions stay in place and make them blend more naturally.
- Style your hair: If you have straight hair, you may want to straighten or lightly curl it before adding the extensions. This helps the extensions blend better and makes them easier to style once in place.
Step 3: Section Your Hair
One of the most important steps in applying extensions to short hair is sectioning it properly to ensure the extensions remain hidden. Use a rat-tail comb to create small horizontal sections starting from the nape of your neck.
- Clip the top layers up: Start by clipping the top layers of your hair up and away from your face, leaving the bottom layer free for extension placement. This will ensure that your short layers on top will cover the extensions later.
Step 4: Apply the Extensions
Now it’s time to start adding the extensions. The goal is to layer the extensions so they blend seamlessly with your short hair.
- Start at the back: Take your first extension (clip-in, tape-in, or micro-link) and place it along the sectioned line near the nape of your neck. Make sure the extension lies flat and secure against your scalp.
- Layer the extensions: Work your way up, section by section, applying extensions along the horizontal parts you create. Make sure to leave enough space between each row so your short layers can blend with the extensions.
- Add shorter extensions around the sides: If you have particularly short hair, add shorter extensions around the sides of your head to blend with your natural layers. This will help create a natural-looking gradient from short to long hair.
Step 5: Blend the Extensions with Your Hair
Once the extensions are in place, it’s crucial to blend them well with your natural hair to avoid any obvious gaps or mismatches in length or texture.
- Cut and layer the extensions: If needed, trim the extensions to match the length of your shortest layers. You may want to ask a stylist to do this for a professional finish.
- Curl or straighten the hair: Use a flat iron or curling iron to style your extensions and natural hair together. Adding waves or curls can help blend the short hair with the longer extensions, making the transition less noticeable.
Step 6: Add Volume and Texture
Short hair can sometimes show gaps between the extensions and natural hair, so it’s important to create fullness at the root.
- Backcomb or tease the roots: Gently backcomb or tease the crown and roots to add volume, which helps conceal the base of the extensions and creates a more blended look.
- Use hairspray: Finish with a light hold hairspray to set your style and keep the extensions in place.
Step 7: Final Touches
Take a look at the final result in the mirror to ensure everything is blended. If you notice any visible extensions or gaps:
- Adjust the placement: You can always remove and reapply extensions if necessary to better blend them with your natural hair.
- Style with accessories: Headbands, scarves, or hats can also help hide any extension tracks while adding a fun twist to your hairstyle.
Final Thoughts
Applying hair extensions to short hair requires a little more effort, but with the right technique, you can create a natural, fuller, and longer look. The key is to choose the right type of extensions, layer them correctly, and style them in a way that blends seamlessly with your short hair. Whether you’re going for a temporary look or something more permanent, these steps will help you achieve a beautiful and effortless transformation.
Leave a Reply